How to Repair a Leaky Clay Tile Roof
If you’ve ever found yourself placing a bucket under a drip during a rainstorm, you know how frustrating a leaky roof can be. But when that roof is made of clay tiles, the stakes feel even higher. Not only do you need to fix the leak, but you also want to preserve the timeless charm and durability that clay tiles offer. If you’re in Mississauga and find yourself in this predicament, don’t worry—you’re not alone. Let’s walk through how to repair a leaky clay tile roof together. Whether you’re a DIY enthusiast or just curious about the process, this guide is for you.
Understanding the Problem
Before diving into the repair, it’s essential to understand why your clay tile roof might be leaking in the first place. Clay tiles are incredibly durable, often lasting over 100 years. However, they aren’t indestructible. Common causes of leaks in clay tile roofs include:
Cracked or Broken Tiles: Over time, exposure to weather elements can cause clay tiles to crack or break. This is especially common in areas with extreme temperature fluctuations.
Loose or Misaligned Tiles: Strong winds, heavy rainfall, or even animals can dislodge tiles from their proper place, creating gaps where water can seep through.
Worn Flashing: The flashing, which is the metal or other material that seals roof edges, valleys, and other areas where the roof meets a vertical surface, can deteriorate over time, leading to leaks.
Clogged Gutters: While not directly related to the tiles themselves, clogged gutters can cause water to back up and flow under the tiles, leading to leaks.
Now that we’ve identified the potential culprits let’s get into the nitty-gritty of repairing your clay tile roof.
Safety First!
Before climbing up on your roof, make sure you have the right safety gear. A sturdy ladder, non-slip shoes, gloves, and safety harnesses are non-negotiable. Working on a roof can be dangerous, so it’s crucial to take all necessary precautions. If you’re unsure about handling the repair yourself, it might be best to contact a professional who specializes in roof repair Mississauga. Safety should always be your top priority.
Locate the Source of the Leak
Finding the exact source of a leak can be tricky. Start by inspecting the interior of your home. Water stains, damp spots, or mold growth on the ceiling are clear indicators. However, water can travel a surprising distance from the actual leak before it becomes visible inside your home. Next, head up to your roof (safely!) and inspect the area above where you noticed the interior damage. Look for obvious signs like cracked or missing tiles, but also pay attention to any areas where the tiles seem out of place or the flashing appears worn.
Remove the Damaged Tiles
Once you’ve pinpointed the problem area, carefully remove the damaged tiles. Here’s how:
Lift the Tiles Above: Clay tiles overlap, so you’ll need to lift the tiles above the damaged one to access it. Use a flat pry bar to gently lift the upper tiles without breaking them.
Remove the Damaged Tile: After the upper tiles are lifted, you can slide the damaged tile out. Be gentle—clay tiles can be surprisingly fragile, and you don’t want to create more damage.
Check the Underlayment: Once the damaged tile is removed, inspect the underlayment (the waterproof layer beneath the tiles). If it’s torn or worn out, it will need to be repaired or replaced.
Replace the Damaged Tiles
With the damaged tile out of the way, it’s time to replace it with a new one. Here’s how:
Install the New Tile: Slide the new tile into place, making sure it fits snugly with the surrounding tiles. If the tile is slightly too large, you can use a tile cutter to trim it to size.
Re-Align the Surrounding Tiles: Lower the tiles you lifted earlier back into place, ensuring they align properly with the new tile. This step is crucial for maintaining the waterproof integrity of your roof.
Secure the Tiles: If necessary, use copper or stainless steel nails to secure the tiles. These materials are preferred because they resist rusting. Be cautious not to drive the nails too tightly, as this can crack the tiles.
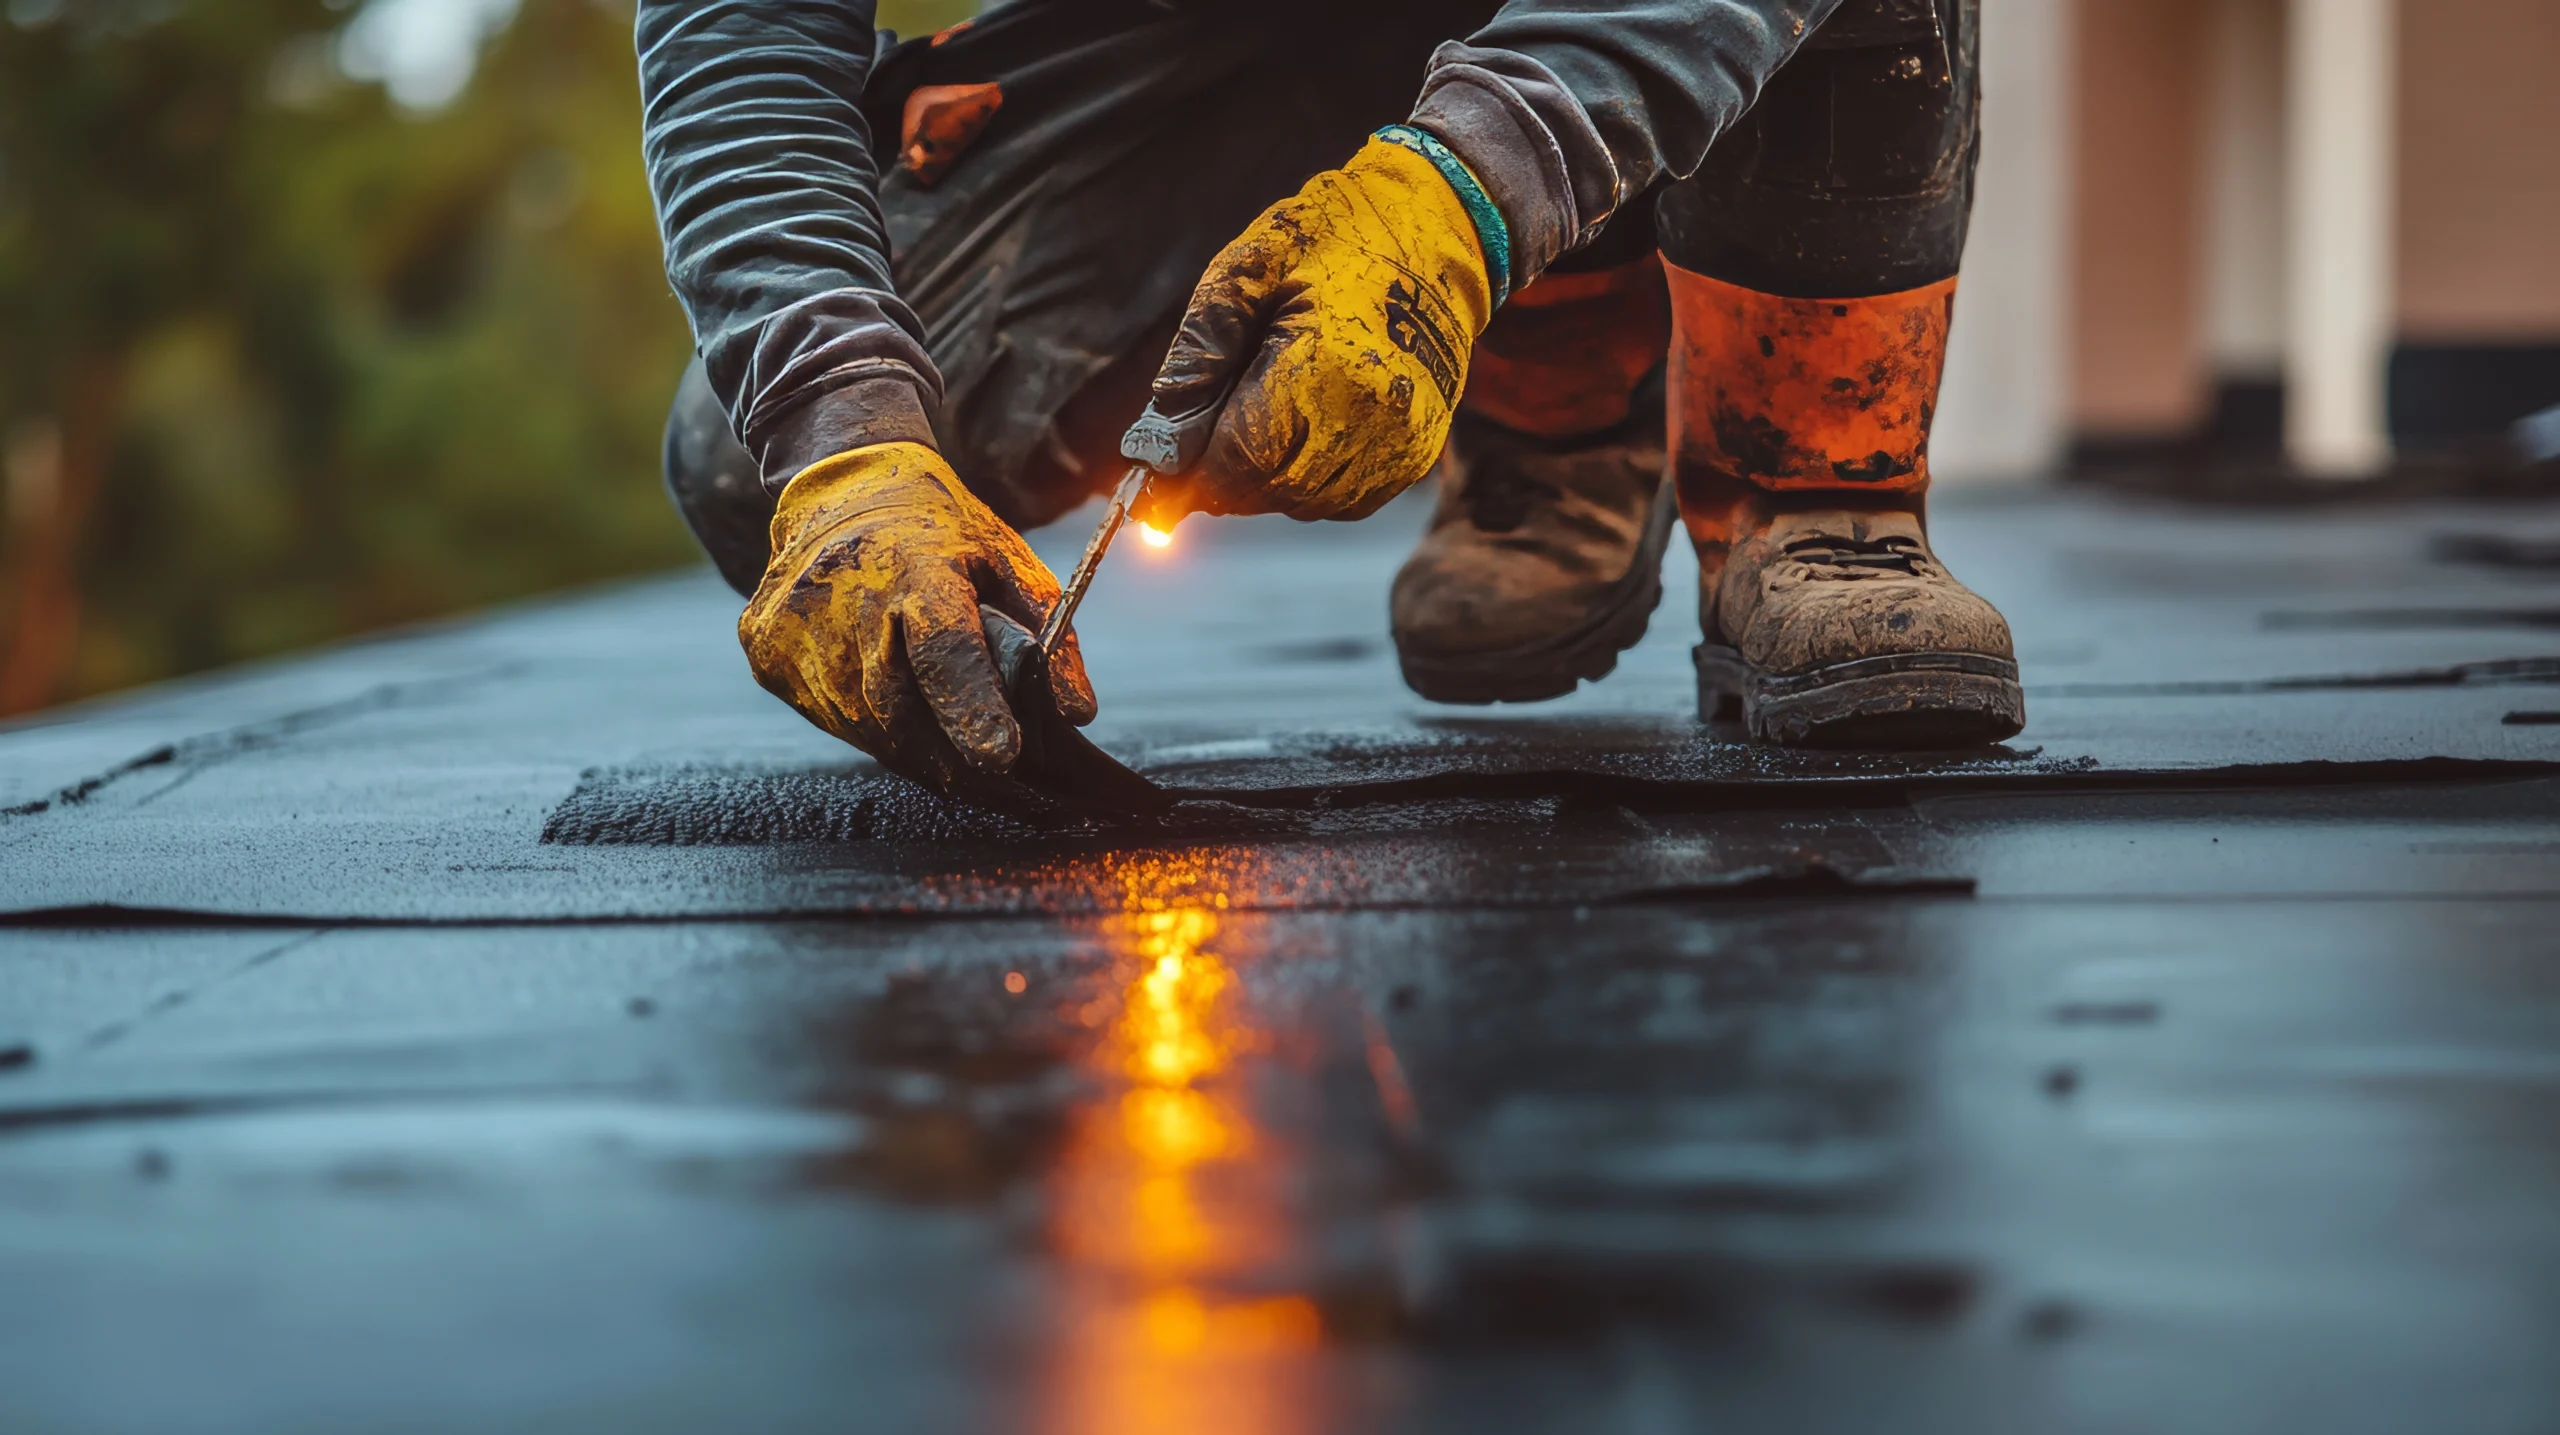
Inspect and Repair the Flashing
While you’re up on the roof, take the opportunity to inspect the flashing around chimneys, vents, and valleys. Damaged or worn flashing is a common source of leaks. If you notice any issues, repair or replace the flashing as needed:
Remove the Old Flashing: Use a pry bar to carefully remove the old flashing. Be gentle to avoid damaging the surrounding tiles or roof structure.
Install New Flashing: Cut a new piece of flashing to fit the area. Use roofing cement to secure it in place, ensuring a tight seal.
Seal the Edges: Apply a bead of roofing sealant around the edges of the flashing to create a watertight barrier.
Clean the Gutters
While gutter cleaning might not seem directly related to your leaky clay tile roof, it’s a crucial step. Clogged gutters can cause water to back up and seep under your tiles, leading to leaks. Use a sturdy ladder and gloves to remove any debris from your gutters. If your gutters are in poor condition, consider replacing them to prevent future issues.
Inspect Your Work
Once you’ve completed the repair, take a step back and inspect your work. Look for any tiles that are misaligned or gaps where water could potentially seep in. If everything looks good, you’re ready to test your repair.
Test for Leaks
The moment of truth! Use a garden hose to simulate rainfall in the repaired area. Have someone inside the house monitor the ceiling for any signs of a leak. If you don’t notice any water seeping in, congratulations—you’ve successfully repaired your leaky clay tile roof!
When to Call in the Professionals
While DIY roof repair can be satisfying, it’s not always the best option for everyone. If you’re uncomfortable with heights, lack the necessary tools, or simply don’t have the time, it might be worth hiring a professional. Experts in roof repair in Mississauga have the experience and equipment to handle the job efficiently and safely.
Preventing Future Leaks
Now that your roof is leak-free, it’s important to take steps to prevent future issues. Regular roof maintenance is key to prolonging the life of your clay tile roof:
Inspect Your Roof Annually: At least once a year, take the time to inspect your roof for any signs of damage or wear. Catching problems early can save you a lot of trouble (and money) down the line.
Keep Your Gutters Clean: Clean gutters are essential for directing water away from your roof. Make gutter cleaning a regular part of your home maintenance routine.
Trim Overhanging Branches: Tree branches that hang over your roof can cause damage to your tiles, especially during storms. Trim any branches that pose a risk to your roof.
Address Issues Promptly: If you notice any signs of a leak or damage, address the issue as soon as possible. Delaying repairs can lead to more extensive damage and costly repairs.
Conclusion
Repairing a leaky clay tile roof might seem daunting, but with the right approach, it’s entirely manageable. Whether you choose to tackle the repair yourself or hire a professional for roof repair in Mississauga, the key is to act quickly to prevent further damage. By following these steps and staying on top of regular maintenance, you can keep your clay tile roof in top shape for years to come. If you ever feel unsure about the process or run into any issues, don’t hesitate to reach out to a roofing expert. After all, your roof is one of the most important parts of your home—it deserves the best care possible!
Ready to put an end to that leaky roof? Trust the experts at DVR Roofing for reliable and professional roof repair in Mississauga. Contact us today, and let’s restore your home’s protection with the care it deserves!
Flat rubber roofs, known for their durability and flexibility, are a popular choice among Scarborough residents. But like any roofing system, wear…

Ridge capping is a crucial part of your tiled roof, sealing the joints where two roof sections meet to prevent leaks and maintain structural…