How to Repair Shingles on a Steep Roof
When it comes to maintaining your home, especially in places like Etobicoke where weather can be unpredictable, knowing how to repair shingles on a steep roof is essential. Whether you’re dealing with minor damage or preparing for the next season, this guide will walk you through the process step-by-step.
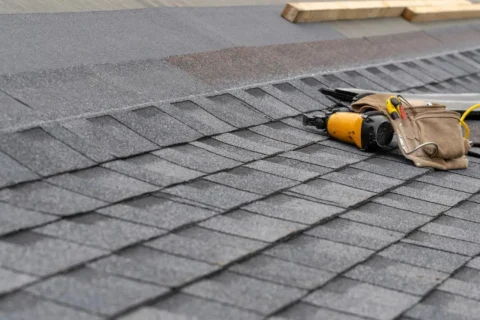
What is a Shingle?
A shingle refers to a small, flat piece of material that is laid in overlapping rows to cover the roof or sides of a building. Shingles are typically made from materials like asphalt, wood, slate, metal, or composite materials. They serve as a protective layer against weather elements such as rain, snow, and sunlight.
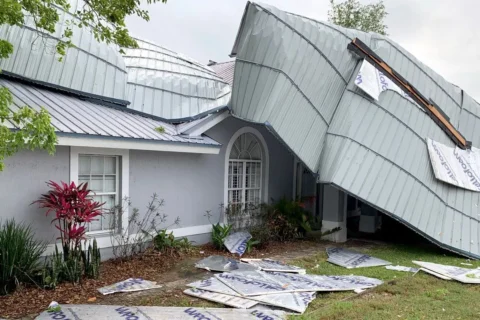
What is a Steep Roof?
A steep roof is characterized by a high pitch, typically exceeding a 4:12 slope (where, for every 12 inches of horizontal run, the roof rises at least 4 inches vertically). Steep roofs shed water and snow more effectively, require specialized safety measures for maintenance, and often enhance architectural aesthetics with their dramatic angles and potential for attic space.

Tools and Materials You’ll Need
Gather your tools and materials before starting the repair process:
- Safety gear (harness, non-slip shoes, gloves)
- Ladder stabilizers or roof brackets
- Hammer
- Pry bar
- Replacement shingles
- Roofing nails
- Roofing adhesive or cement
- Utility knife
- Roofing tar (optional)
Step-by-Step Guide to Repairing Shingles on a Steep Roof
Safety First
Ensure you have proper safety gear and that the weather conditions are favorable (no rain, wind, or extreme temperatures). Use ladder stabilizers or roof brackets to secure your ladder and prevent it from slipping.
Assess the Damage
Carefully inspect the roof from the ground using binoculars to identify damaged shingles, missing pieces, or lifted edges. Note any areas where water might be penetrating.
Prepare the Work Area
Clear debris and create a safe workspace near the damaged area. If necessary, gently remove surrounding shingles to access the damaged ones without causing further harm.
Remove Damaged Shingles
Using a pry bar, lift the edges of the damaged shingles and carefully remove the roofing nails holding them in place. Take care not to damage adjacent shingles.
Install Replacement Shingles
Slide new shingles into place, ensuring they align with the existing pattern. Secure each shingle with roofing nails, placing them just below the adhesive strip to prevent water infiltration. Use roofing adhesive or cement under lifted edges for added security.
Seal and Test
Apply roofing tar around exposed nail heads and edges to create a watertight seal. Once all repairs are complete, use a hose to gently spray the repaired area and check for leaks.
Clean Up
Remove any debris from the roof and surrounding areas, and ensure all tools are safely stored away.
Read more about “How Long Does a Thatched Roof Last?” By visiting our blog page today!

Tips for Success
- Safety is paramount: Always use proper safety equipment and consider hiring a professional for steep or extensive repairs.
- Weather readiness: Choose a dry, mild day for repairs to ensure adhesive and sealants can cure properly.
- Regular maintenance: Inspect your roof annually for signs of damage and address issues promptly to prevent costly repairs.
Conclusion
Repairing shingles on a steep roof in Etobicoke requires careful planning, attention to detail, and a focus on safety. By following these steps and tips, you can effectively maintain your roof’s integrity and prolong its lifespan. Remember, if you’re unsure or uncomfortable with the process, it’s always best to consult with a professional roofing contractor. By mastering these techniques, you’ll be ready to tackle roof repair Etobicoke confidently and keep your home protected from the elements for years to come.
Ready to ensure your home stands strong against any weather? DVR Roofing delivers expert craftsmanship and reliable service to safeguard your roof year-round. Trust us for quality repairs and installations that prioritize durability and peace of mind. Contact DVR Roofing today to fortify your home with confidence.
High winds can wreak havoc on your home, especially your roof. If you’ve ever asked, “How to repair shingles blown off a roof?” you’re not alone. In…
Discovering a leak in your shingle roof is stressful for any homeowner. You may wonder, “How to repair a shingle roof leak?” A leaky roof can lead to…